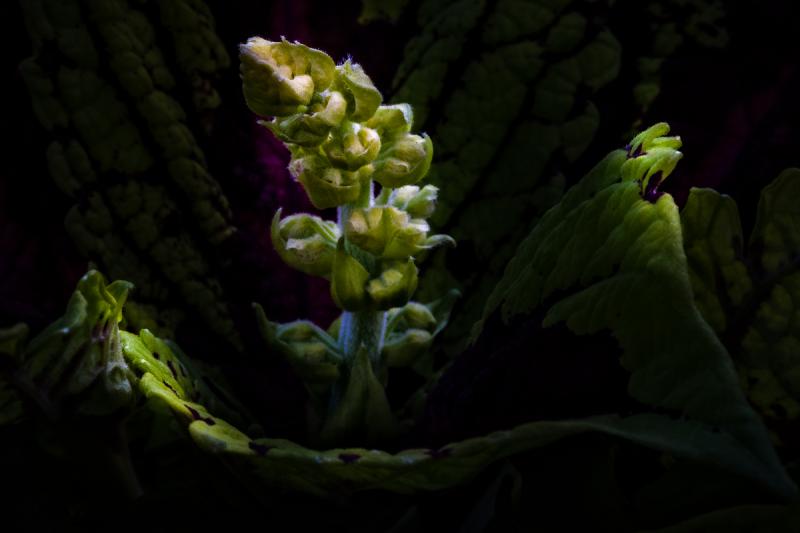
Exposure: Canon EOS 5D Mk II, ISO 100, Canon EF 100mm f/2.8L Macro IS USM, f/32, 1/10th sec, Aper
ture priority, +⅔ EV(one of an exposure bracketed series), RAW capture
Processing: Lightroom CC - RAW image processing, spot removal, and final image touchups
Photoshop CC - spot removal and sharpening
onOne Perfect Suite Effects - selective noise reduction
Basic Steps: The image is deep and despite having used f/32, much of the image is somewhat soft. To emphasize the parts of the image that are relatively sharp, I darkened the entire image, then selectively brightened those areas that I wanted to highlight(because they are fairly sharp), simulating a tightly coned light beam passing obliquely through the image, upper right to lower left. The lighting effects were created using multiple Lightroom radial filters of various sizes and shapes and fine-tuned with the Lightroom adjustment brush tool.
To see the initial image, go to:
https://www.dropbox.com/sh/my65x1ulsoilj9l/AABlBBFKvFK_NDTP0VvDnXSDa?dl…